
Blogs
18-09-2026

A smartphone that suddenly stops working can be difficult to diagnose, especially when the device shows no display, produces no sound, and does not respond to the power button. For mobile technicians, understanding how to diagnose a dead smartphone is an important skill because the problem can originate from the battery, charging circuit, power management section, motherboard, or other internal components.
A phone that appears completely dead does not necessarily have a damaged motherboard. Proper diagnosis helps technicians identify the actual fault before replacing components or performing repairs.
This guide explains a systematic approach to dead smartphone diagnosis for mobile repair technicians.
A dead smartphone is a device that does not respond when the power button is pressed. Depending on the fault, the phone may show no display, no vibration, no charging indication, and no response when connected to a charger.
Common symptoms include:
Phone does not turn on
No charging symbol appears
No vibration
No notification light
Screen remains completely black
Computer does not detect the phone
Phone becomes unusually hot
Device shuts down and does not restart
The exact symptoms can provide useful clues about the source of the problem.
Before starting the repair process, technicians should understand the possible causes.
A deeply discharged or faulty battery can make a phone appear dead. If the battery voltage is too low, the phone may not immediately respond when connected to a charger.
Battery condition should therefore be checked before moving toward motherboard-level diagnosis.
A damaged or contaminated charging port may prevent the battery from receiving power.
Dust, corrosion, bent pins, physical damage, or a loose connection can affect charging.
Sometimes the smartphone itself is working normally, but the charging cable or adapter is faulty.
Technicians should test the device with known-good charging accessories before opening the phone.
A damaged power button or flex cable can prevent the device from turning on even when the motherboard and battery are functioning correctly.
Liquid exposure can cause corrosion and short circuits. A phone may continue working initially and then stop responding later as corrosion develops.
Motherboard problems can involve power management components, charging circuits, processors, memory, connectors, or other components.
These faults generally require advanced diagnostic equipment and board-level repair skills.
A systematic process helps technicians avoid unnecessary component replacement.
Start by inspecting the phone externally.
Look for:
Cracked display
Damaged frame
Broken charging port
Signs of liquid exposure
Bent body
Missing or damaged components
Evidence of previous repair
Physical damage can provide important clues about what happened to the device.
Use a known-working charger and cable.
Connect the device and observe whether there is any response, such as:
Charging icon
Vibration
LED indication
Screen activity
Increase in battery temperature
If there is no response, continue with further diagnosis.
The battery should be inspected for visible swelling, physical damage, leakage, or other abnormalities.
A technician can use appropriate testing equipment to determine whether the battery has sufficient voltage and whether it can accept a charge.
If the battery is faulty, replacing it with a compatible known-good battery can help determine whether it is responsible for the problem.
Examine the charging connector carefully.
Check for:
Dust and debris
Corrosion
Bent pins
Broken solder joints
Loose connector
Physical damage
A damaged charging port can prevent power from reaching the battery or charging circuit.
A smartphone may actually be powered on even though the screen remains black.
Try checking for signs such as:
Vibration
Incoming calls
Notification sounds
Computer detection
Charging response
If the phone appears to be functioning but the display remains black, the fault may be related to the display, display connector, backlight, or display circuit rather than the motherboard's main power system.
Many smartphones have a specific button combination for forced restarting.
The exact combination varies between manufacturers and models.
Technicians should follow the manufacturer's procedure rather than randomly pressing buttons or repeatedly forcing the device to restart.
Connect the phone to a computer using a suitable USB cable.
If the computer detects the device, this can indicate that some internal systems are still functioning even if the display does not turn on.
However, lack of computer detection does not automatically prove that the motherboard is completely dead.
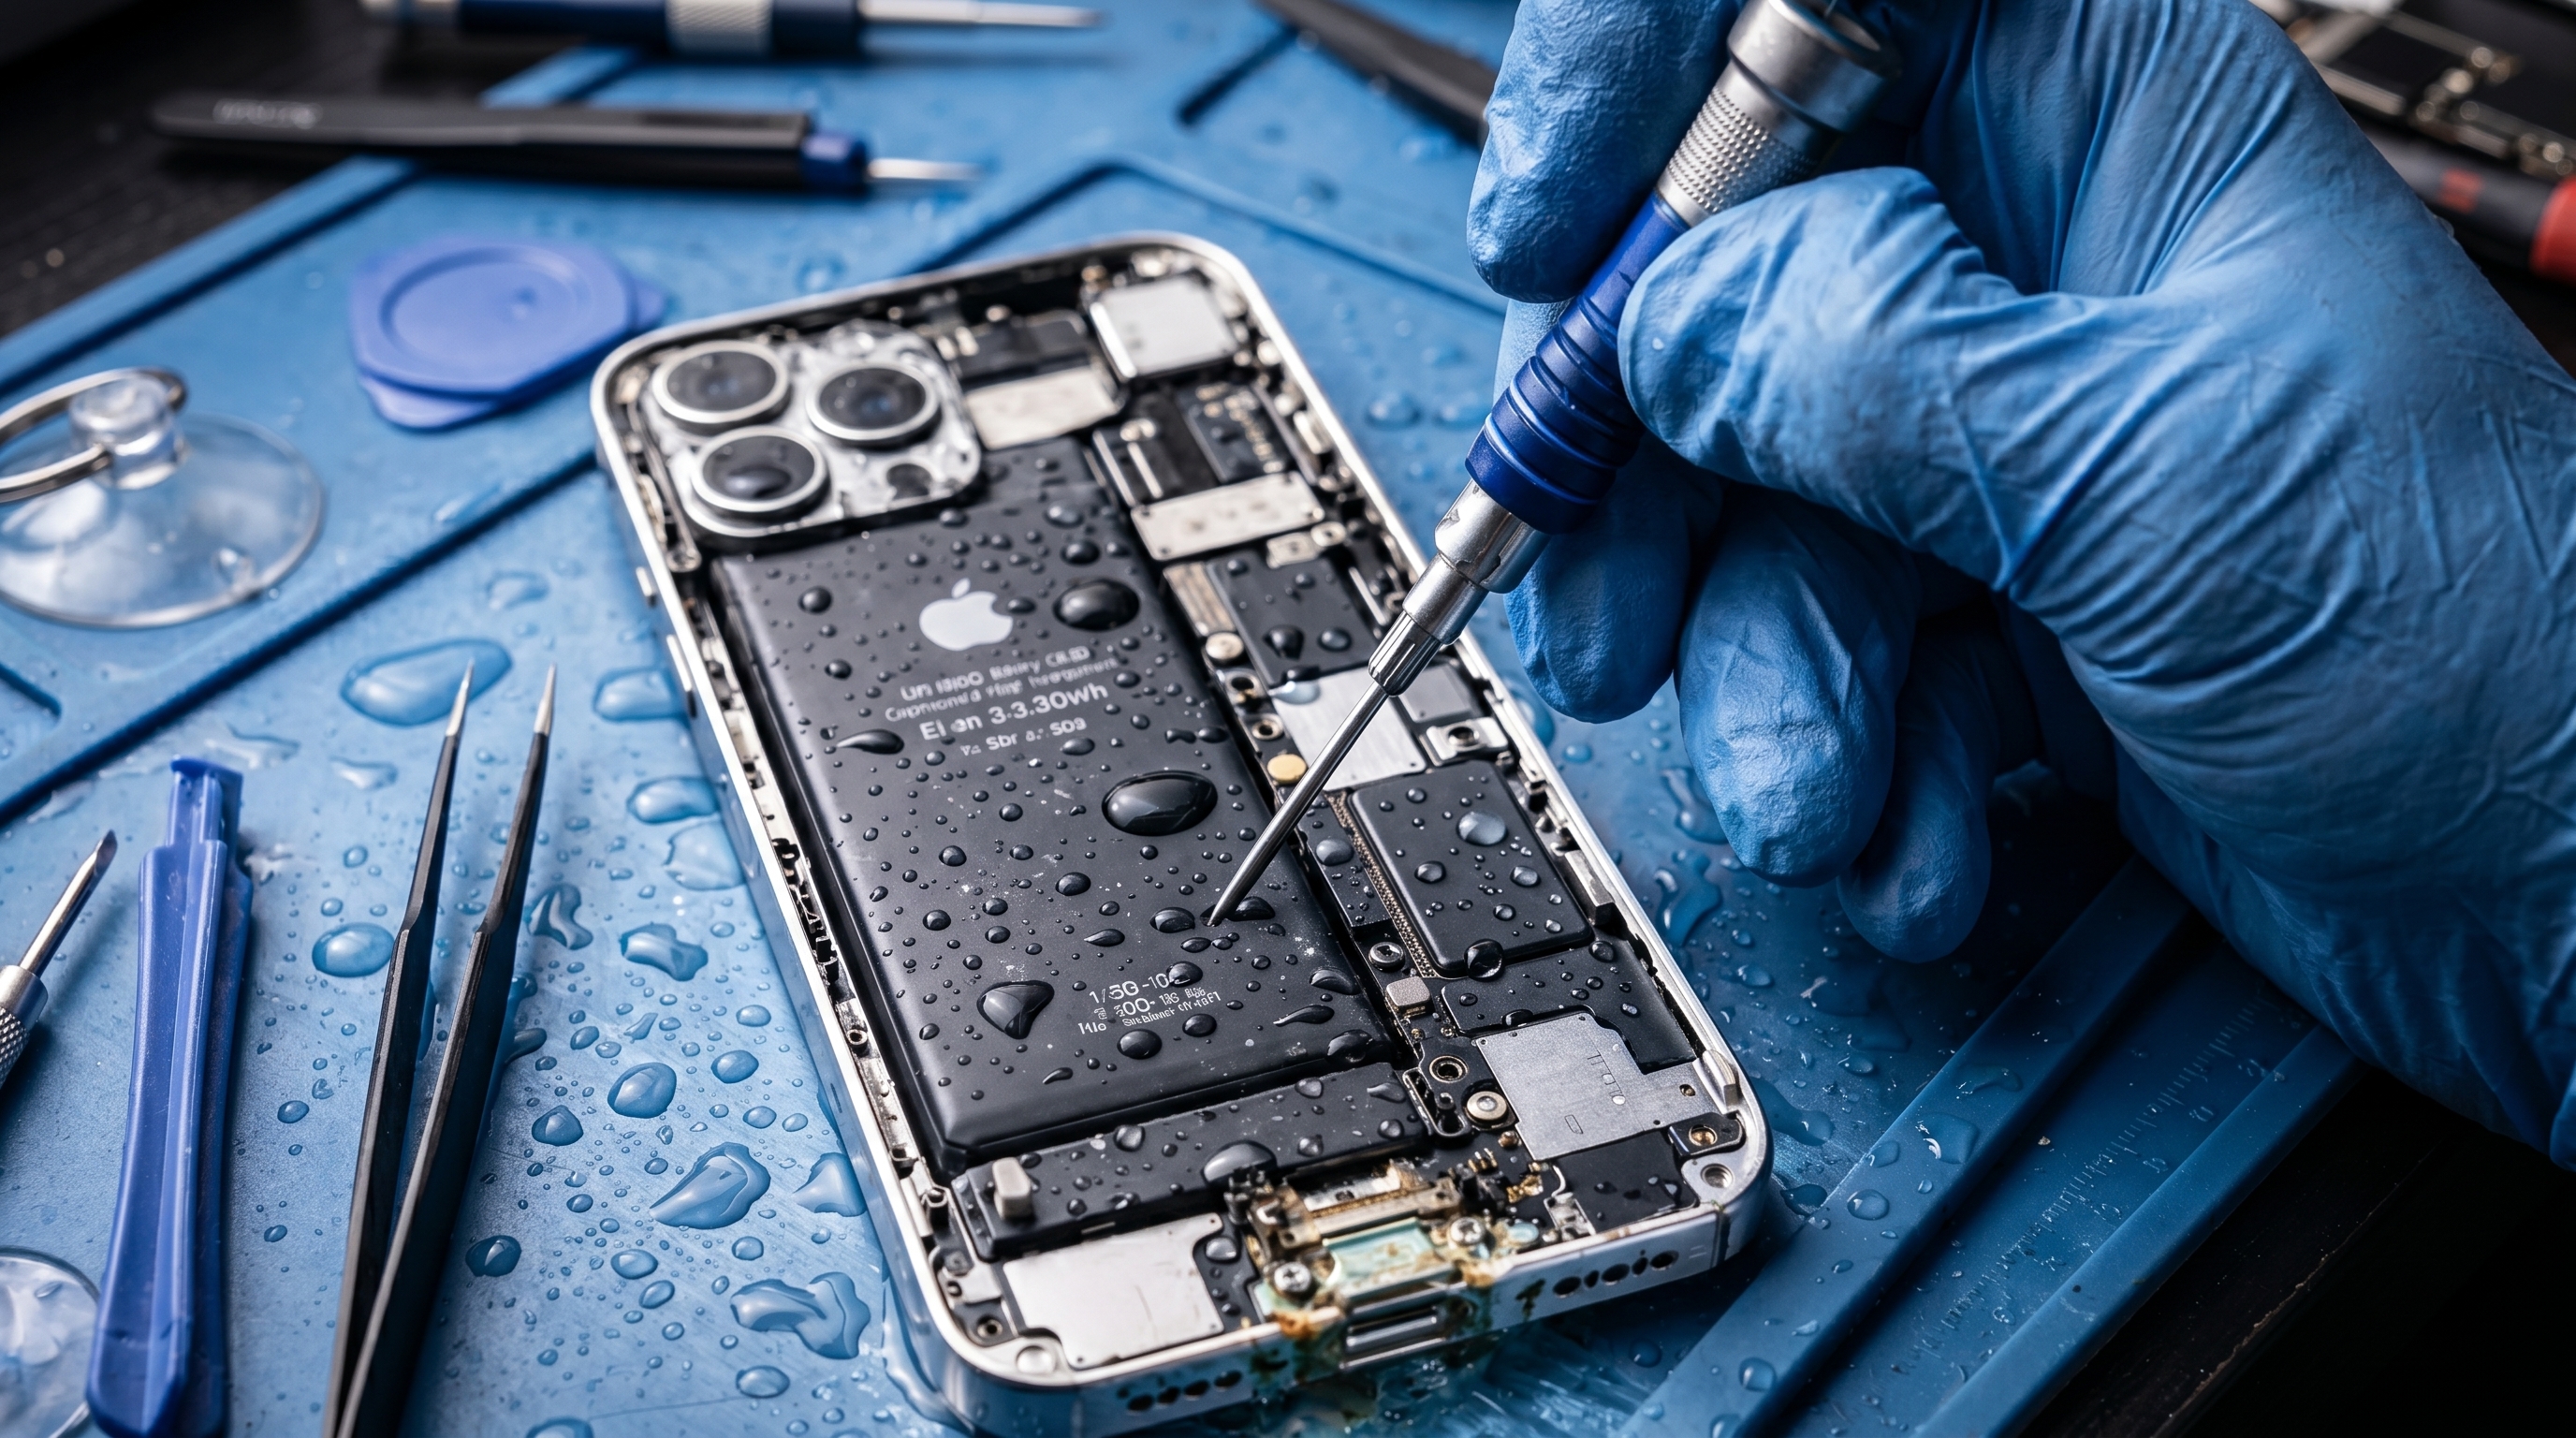
If water or another liquid may have entered the phone, inspect the relevant internal areas for corrosion or moisture.
Liquid damage can affect:
Charging circuits
Power management components
Connectors
Audio circuits
Display circuits
Motherboard components
Liquid-damaged devices should be handled carefully because powering them repeatedly can potentially worsen an existing electrical fault.
If the battery, charger, charging port, and display have been ruled out, the technician can move toward motherboard-level diagnosis.
The power section of a smartphone contains multiple components responsible for distributing and managing power.
Depending on the phone model and architecture, technicians may need to investigate power-related components and circuits using appropriate diagnostic equipment.
A short circuit on a motherboard can cause abnormal current consumption and prevent the device from powering on.
Technicians with appropriate board-level repair training can use suitable diagnostic methods to identify abnormal power behaviour.
The exact testing procedure depends on the device design and the equipment available.
Current consumption can provide useful diagnostic information when working on a dead smartphone.
A technician may connect the phone to an appropriate power-testing setup and observe its behaviour during an attempted power-on sequence.
Different current patterns can indicate different types of faults. However, current readings should not be interpreted in isolation.
The phone model, board design, battery condition, and testing method all affect the readings.
For this reason, technicians should combine current behaviour with other diagnostic observations.
Replacing parts without identifying the actual fault can increase repair costs and waste valuable time.
For example, if a phone does not turn on, the problem could be:
Battery
Charging port
Charging circuit
Power button
Display
Connector
Power management section
Motherboard
Software or firmware
Replacing the motherboard immediately may not be necessary if the actual problem is a damaged charging port or battery.
A systematic diagnosis makes the repair process more efficient.
Professional mobile technicians may use different tools depending on the fault and device model.
Common diagnostic equipment can include:
Digital multimeter
DC power supply
USB power meter
Microscope
Soldering station
Hot air rework station
Professional charging and testing equipment
Computer and appropriate service software
Technicians should use each tool according to proper safety procedures and manufacturer specifications.
Modern smartphones contain highly integrated circuits and compact motherboard layouts. Diagnosing these devices requires more than simply replacing parts.
A technician needs to understand:
Basic electronics
Smartphone power systems
Charging circuits
Circuit diagrams
Component identification
Multimeter testing
Board-level troubleshooting
Soldering techniques
Short-circuit diagnosis
Safe handling procedures
Practical training can help technicians develop these skills and become more confident when working on real devices.
Not every dead phone should immediately undergo motherboard repair.
If the problem appears to involve a damaged battery, charging port, display, or external component, the appropriate component should be diagnosed first.
However, if basic checks do not identify the fault and the phone shows signs of motherboard damage, advanced diagnosis may be necessary.
Technicians should also avoid unnecessary board-level work when they do not have the required tools, knowledge, or experience.
Safety is important when working with lithium-ion batteries and electronic components.
Technicians should:
Use appropriate tools.
Avoid damaging or puncturing batteries.
Follow proper ESD precautions.
Use suitable power supplies and testing equipment.
Avoid excessive heat near batteries.
Disconnect power when appropriate before component-level work.
Follow manufacturer-specific procedures where available.
Work in a properly ventilated and equipped repair environment.
Learning how to diagnose a dead smartphone is an essential skill for mobile repair technicians. A device that appears completely dead can have many different causes, ranging from a discharged battery or damaged charging port to a motherboard-level fault.
The best approach is to diagnose the device systematically. Start with the charger, cable, battery, charging port, display, and physical condition before moving toward advanced motherboard diagnosis.
With proper training, suitable diagnostic tools, and practical experience, technicians can identify faults more accurately and avoid unnecessary component replacement.
For students and aspiring mobile repair professionals, developing strong diagnostic skills is an important step toward building a successful career in smartphone repair.